Van Conversion
DIY Project
Mar 2017 - Present

After purchasing my new vehicle in London; Vauxhall Vivaro 2012 SWB.

After driving it home, I discover that we've got an oil leak.

After remove all the existing plywood walls and floor, I managed to swap my metal bulkhead for a set of 4 spare wheels. Having given the interior a good clean, going to start the insulation.
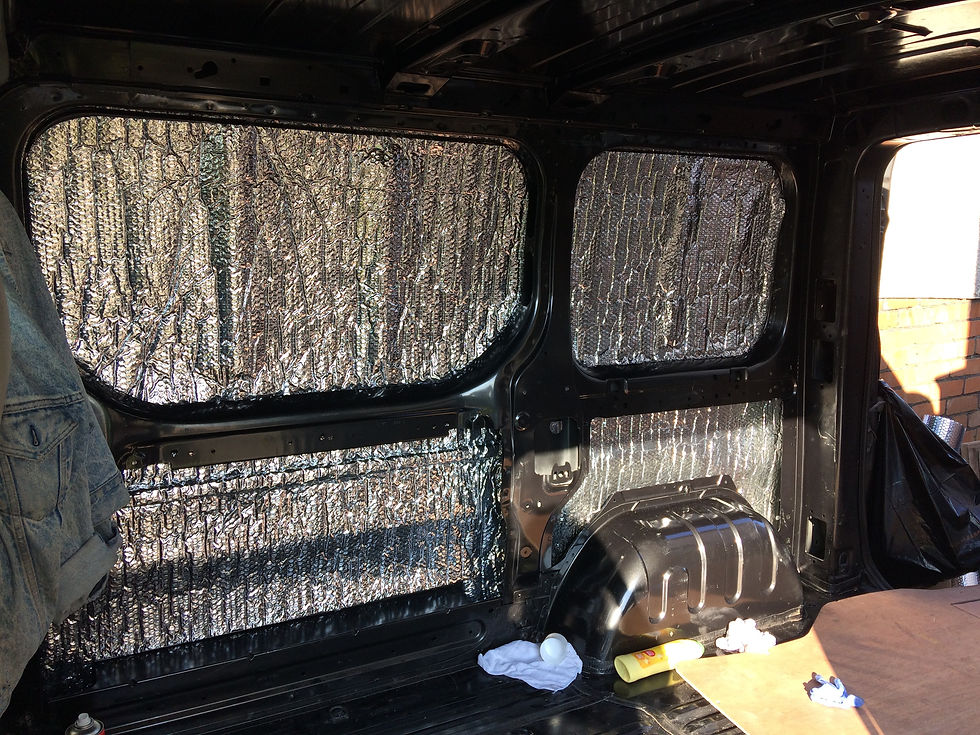
Starting with a layer of foil insulation to reflect any differences in heat between the interior and exterior. Glueing it down with carpet adhesive, hoping that will hold it in place. Messy work.

Managed to cover most of the outer skin in the foil insulation, removing door panels to get behind, covering the ceiling and floor and cutting smaller bits to get into the tight spots.

Not a pleasant stage, putting the main insulation in. I decided to use rockwool (recycled glass) insulation because I had it to hand. after starting with only gloves, I quickly went and purchased an all in one suit and googles as I became increasingly more itchy.

After reading online about the possibility of rockwool holding damp and growing mouldy, I decided to package it in heavy duty bin bags, sealed with duct tape, to hopefully protect it from the damp.

First foot and view photo. Although the view ain't the greatest, I've been waiting a long time for one of these.

Having used the original plywood floor as a template, I got started on cutting out the new floor.

A little help from helping hand.

Once in, the floor was screwed down and glued into place, filling the gaps at the side with expanding foam. Man, that stuff is messy.

After leaving it to dry over night, the excess foam was so easy to remove with a Stanley knife, leaving the nice clear join.

With the extra 9mm of plywood flooring on top, the sides needed trimming to fit once more.

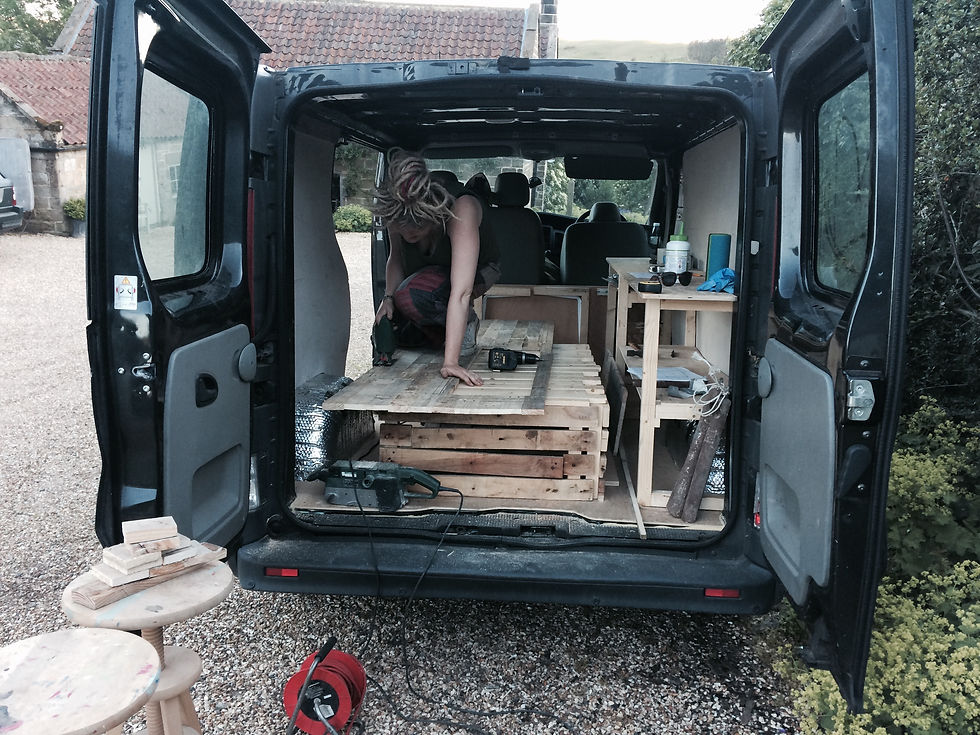
The van in full design mode; pens, pencils paper, screws, tape measure creating quite the mess.

After a lot of drawings, I figured the best way was to just start and figure everything out as I went along.

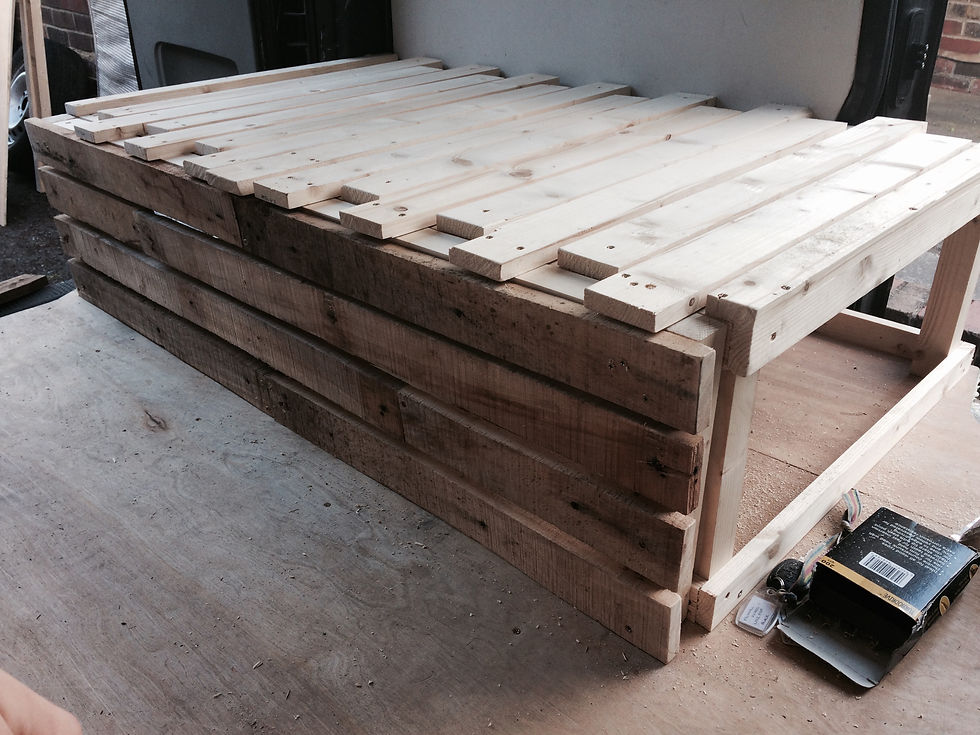
After many screws being taken out and many pieces being re cut, I finally managed to get the first part of the bed/bench made.

And the lid works as well.

Managed to figure out the second half of the bed. doesn't slide out as well as I'd hoped, but thats an issue that I'll sort out later.

Manged to bag a hardwood crate off ebay for £9, perfect for upcycling into my van for the rustic look I love.
The upcycled crate looking good on the front of the bed.

Nice corner detail, I love the weathering on the hardwood from the crate.

Now for the final section of my bed, the end piece which will double up as a table when the bed is folded away.

As one side rests on the main part of the bed, the legs, strengthened with shelving brackets support the third section.

Small sliding bolt hold the legs in place when folded out to prevent this part of the bed collapsing.

Managed to get my hands on a lot of pallets to upcycle from a local factory extension.

With the bed almost completed, time to move on to the side unit.

9mm plywood completes the counter top. Really starting to take shape now.

With the pallets so weathered, I decided to trim each piece to the same size. This meant they were more likely to hold when glued together.
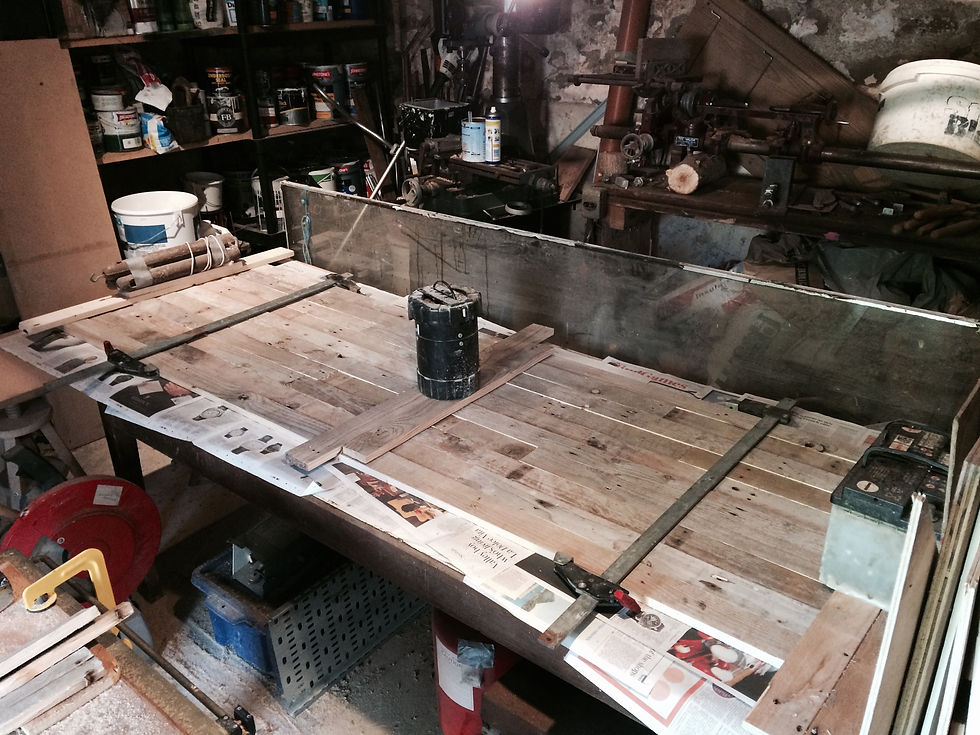
To create the sideboard of the cupboard, I created one large piece (2100mm x 700mm) out of the upcycled pallet wood. The cupboard doors will then be cut from this.

Whilst the sideboard glue dried, I got the shelves finished.

I received my #VanNation founders pin and sticker in the post. Founder #0022! Hell Yeah!

Whilst parked on a busy street in the city, some unkind person managed to do some damage to my rear end. Another thing to fix. Thank you whom ever you are!

With the sideboard piece glued, I got it trimmed to size.

The upcycled pallet wood looking good as the sideboard in the van!
Having marked out the cupboards on the sideboard several times (just to make sure they were correct), I used a jigsaw to cut them out. I needed both pieces so accuracy was key.

Very impressed with how the sideboard is turning out. The jigsaw lines are a little wiggly but I'm no joiner.

With a few more pieces of pallet, the ends of the cupboard are fitted with this mighty glue I managed to get my hands on.